
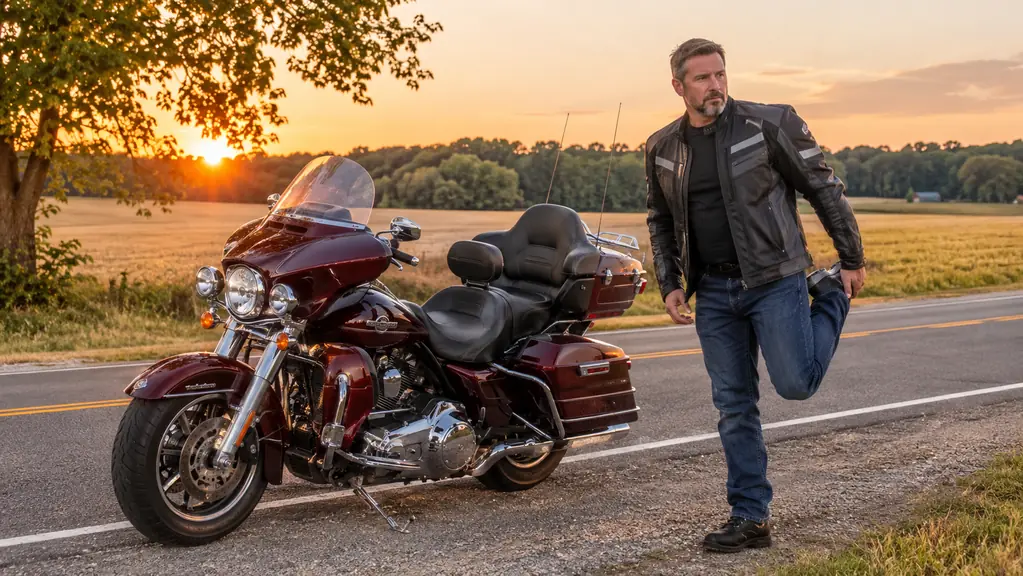
Somewhere around Wytheville, Virginia, on the way to Myrtle Beach, my backside went dead. Not sore. Not achy. Dead. The kind of numb where you shift your weight and nothing moves, where your right foot feels like it belongs to somebody else, and you start counting mile markers just to have something to do besides think about the pins and needles. I have made that Pittsburgh-to-Myrtle Beach run every year for a long while, about 600 miles each way, usually over two days with an overnight stop in Virginia, and every year I told myself the same thing: I will sort out the seat before next year. And every year I showed up with the same factory seat and the same numb backside by mile 400.
The fix turned out to be a lot simpler than I expected. A gel seat cushion, the SKYJDM motorcycle seat cushion in the large size, is what finally broke the cycle for me. I bought it last spring, before the riding season, and I have put a couple of Myrtle Beach trips and a lot of weekend rides on it since. This is the step-by-step version of how I fit it, set it up, and paced a full 600-mile day without the dead-leg feeling. If you ride a touring bike or a cruiser and you have fought this same fight, this is what worked for me.
Start With a Cushion That Fits the Job
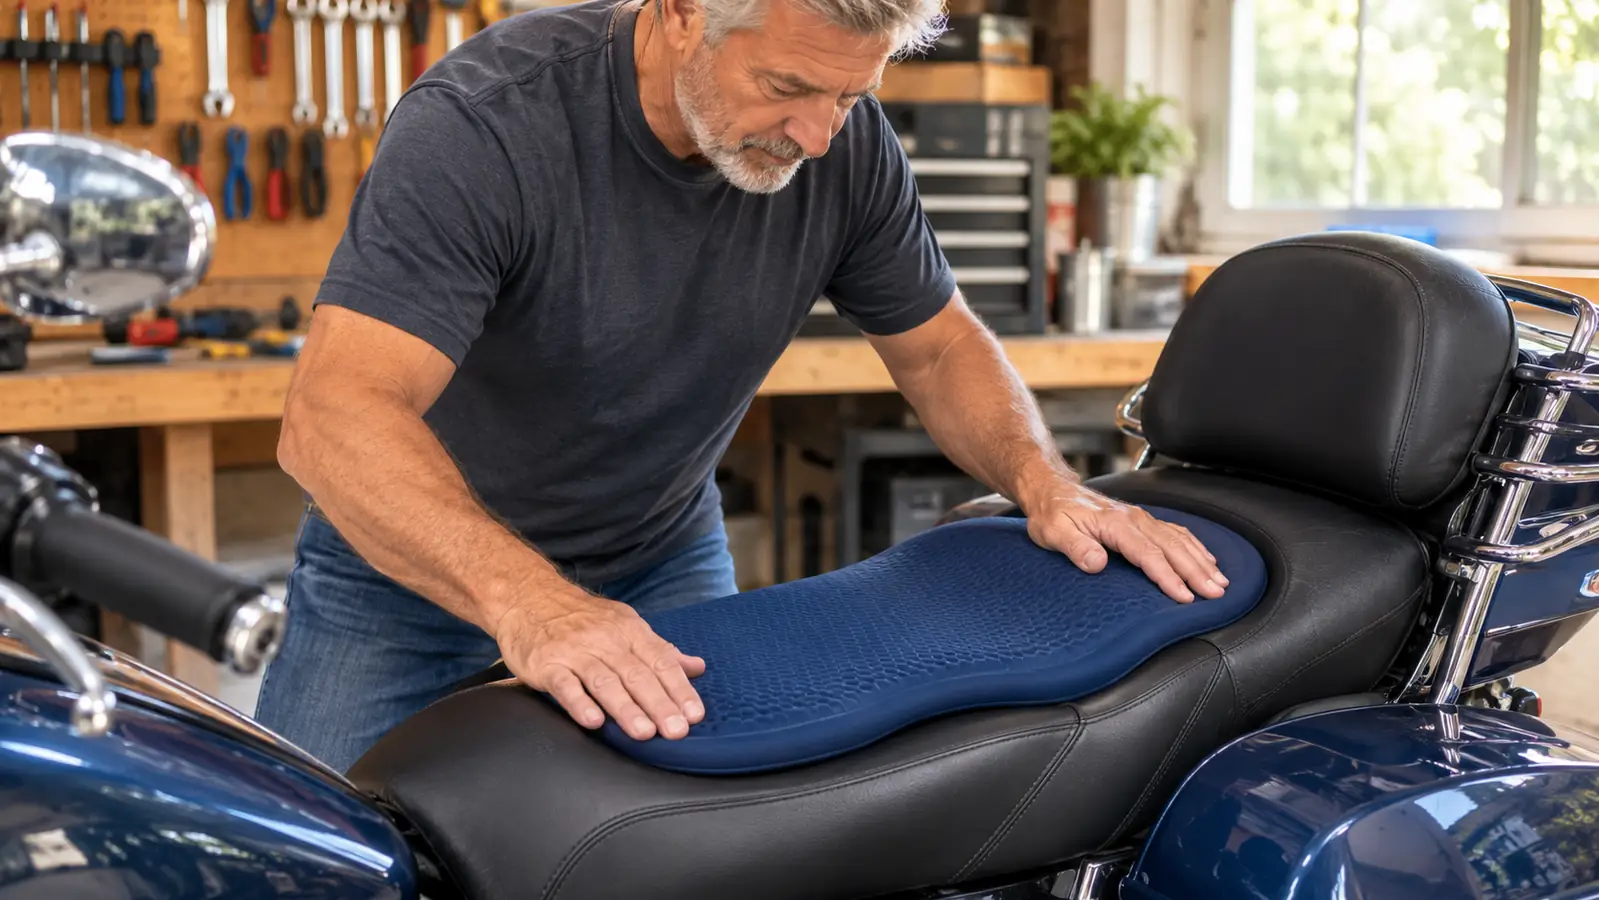
The SKYJDM gel cushion is soft, breathable, and folds flat when you do not need it. I had mine fitted in about five minutes.
Amazon Check Today's Price on Amazon →Why the Seat Is the Problem
Your factory seat is not broken. It is just doing what seats do. It puts all of your weight on two small points, your sit bones, and it keeps that pressure in the same place for hours. Your blood vessels and nerves are not designed for that. After a while the signals stop getting through, and you get the pins and needles, then the dead feeling, then the clumsy foot when you finally put it down at a rest area.
The usual answers do not fix it. Standing on the pegs helps for about ten minutes. Squirming around helps until the next bump. A cheap foam pad just compresses into a thinner version of the same problem. What actually helps is spreading the load over a bigger area, which is exactly what a gel cushion does.
I am not a doctor and I am not going to pretend to be one. What I know comes from 35 years of riding and one very honest safety course I took again at 55. When your backside goes numb, your body is telling you something, and the smart move is to listen before it becomes a bigger problem. Spreading the pressure out is the mechanical fix. Everything else in this article is just the detail work around it.
Step 1: Start With a Clean, Dry Seat
The cushion is only as stable as the surface under it. Before I put mine on, I wiped the factory seat down with a damp rag and a little mild soap, then let it dry completely. You do not need anything fancy. You just need a clean surface so the pad does not slide around on top of old wax or road film.
Lay the cushion flat on the seat and look at it before you press it down. It measures 15.74 inches long and 13.77 inches wide laid flat, which covers the bulk of the seating area on my Chieftain. The fill is a soft TPE gel, and the whole thing weighs 0.96 kilograms, a touch over two pounds, so it is not adding any real weight to the bike.
The petal-shaped design is not there to look interesting. It is there so your buttocks have room to spread out instead of being funneled into one pressure point. I did not appreciate that until I spent a day on it, but it is the whole idea.
Step 2: Position It Where Your Weight Actually Sits
Here is the part most people get wrong. They set the cushion in the middle of the seat and call it done. Your weight does not sit in the middle of the seat. It sits on your sit bones, which are farther back than you think. Get on the bike, sit in your normal riding position, and then reach down and feel where the cushion is under you.
I position the widest part of the pad directly under my sit bones, then slide forward a touch so the backs of my thighs are supported too. On my bike that means the cushion sits slightly rear of center. It will be different on your bike, so take the thirty seconds to check it while you are actually sitting on the machine.
Do not be shy about adjusting it a couple of times on the first ride. The cushion is foldable and soft, so it is easy to shift. I fiddled with mine for the first hour, then it settled in and I have not moved it since.
Step 3: Give It a Firm Press and Check It at Fuel Stops
Once the position is right, press down on the center of the cushion with both hands to seat it against the seat. That pushes out any air trapped underneath and helps it grip. It is not bolted down, and you should not expect it to be. It is a gel pad, and gel pads stay put when they are seated flat and given a chance to grip.
Here is the habit that matters: every time I stop for fuel, I give the front edge a quick tug. If it has wandered a half inch, I nudge it back. In practice, mine has barely moved on a full day of riding, but the check costs two seconds and it keeps the pad exactly where I set it.
One thing I will tell you plainly: a cushion like this is a pressure aid, not a suspension upgrade. It spreads your weight so the numbness does not build up in one spot. It does not turn a firm touring seat into a living room couch, and you should not expect it to.
Step 4: Pace the Day So the Cushion Can Do Its Job
The cushion does its best work when you give it a little help. I plan fuel stops about every 100 to 120 miles on the Myrtle Beach run. At each stop I get off the bike, walk around the gas station once, and let the blood move. That is not a weakness in the pad. That is just how long-distance riding works.
Between stops, I change position on the seat every so often. Slide forward for a few miles, slide back, sit up tall, drop my weight onto one side of the seat and then the other. The cushion gives you the room and the softness to do that without feeling like you are fighting the seat.
The breathable part matters more than I expected. The interior of the pad uses a 3D-honeycomb structure that lets air circulate, so you are not sitting in a puddle of your own making by mile 300. On a hot August run down to South Carolina, that made a real difference.
Step 5: Take Care of It So It Lasts More Than One Season
The care instructions on mine are simple, and you should actually follow them. Avoid prolonged exposure to direct sunlight or extreme heat. That means do not leave the cushion sitting on the seat in the sun all day while you are at work. When I stop for the night, I fold it and tuck it in a saddlebag. It folds flat, which is one of the reasons I picked it.
At 0.96 kilograms it is light enough to carry without thinking about it. I bring mine inside at the end of a trip, wipe it down with a damp cloth, and let it dry before I store it. That is the whole maintenance routine. There is nothing to charge, nothing to adjust, nothing to break.
Treat it that way and it should give you a couple of seasons at least. I am only one season in with mine, so I will not pretend to know what it looks like after five years. What I can tell you is that it has held up fine through a couple of Myrtle Beach trips and a lot of weekend rides, and it still looks and feels the same as the day I bought it.
What the First Ride Was Like
The first real test was the run down to Myrtle Beach last fall. I fitted the cushion the night before, did the whole setup in the garage, and honestly I was skeptical. A pad that folds flat and weighs two pounds does not sound like it should change a 600-mile day.
By the time I crossed into Virginia, I realized I had not thought about my backside once. That has never happened before on that road. I still stopped for fuel, still stretched, still moved around on the seat. But the constant low-grade misery that used to start around mile 250 just was not there. The SKYJDM cushion did its job and then got out of the way, which is exactly what I want from gear.
The return trip was the real test, because that is the day the fatigue stacks up. Two days of riding, a motel bed in between, and then six more hours in the saddle. The cushion was still there doing its job on day two. I will take that as a pass.

What Else Helps
The cushion is the biggest piece of the puzzle, but it is not the only piece. I ride in pants with a little padding in the seat area, which sounds silly until you do a 300-mile day. I also stay on top of water. Dehydration makes cramping and numbness worse, so I drink more on the bike than I think I need to.
Standing on the pegs for ten seconds every hour, even on a touring board, wakes your legs up. And I do a quick stretch at every fuel stop, mostly hamstrings and lower back. None of this is dramatic. It is just the boring stuff that adds up to arriving in Myrtle Beach able to walk.
One more thing that helped me: I stopped wearing a fat wallet in my back pocket. It sounds small, but a wallet tilts your weight to one side and makes the numbness worse on that side. It went in the saddlebag with the cushion, and my left hip stopped complaining.
The cushion did not turn the ride into a couch. It made mile 400 feel like mile 100, and that is the whole ballgame.
The Bottom Line
If you ride long distances and your backside goes numb, a gel cushion is a simple fix that actually works. The SKYJDM version is not complicated. It is a soft, breathable, foldable pad that spreads your weight out and lets air move. Fit it the way I described, check it at fuel stops, and pace your day like a rider who plans to do it again tomorrow. That is the whole system.
Set Your Seat Up Before the Next Long Ride
The SKYJDM gel cushion takes about five minutes to fit, folds flat when you do not need it, and it is the reason I stopped counting mile markers on the way south.
Amazon Check Today's Price on Amazon →