
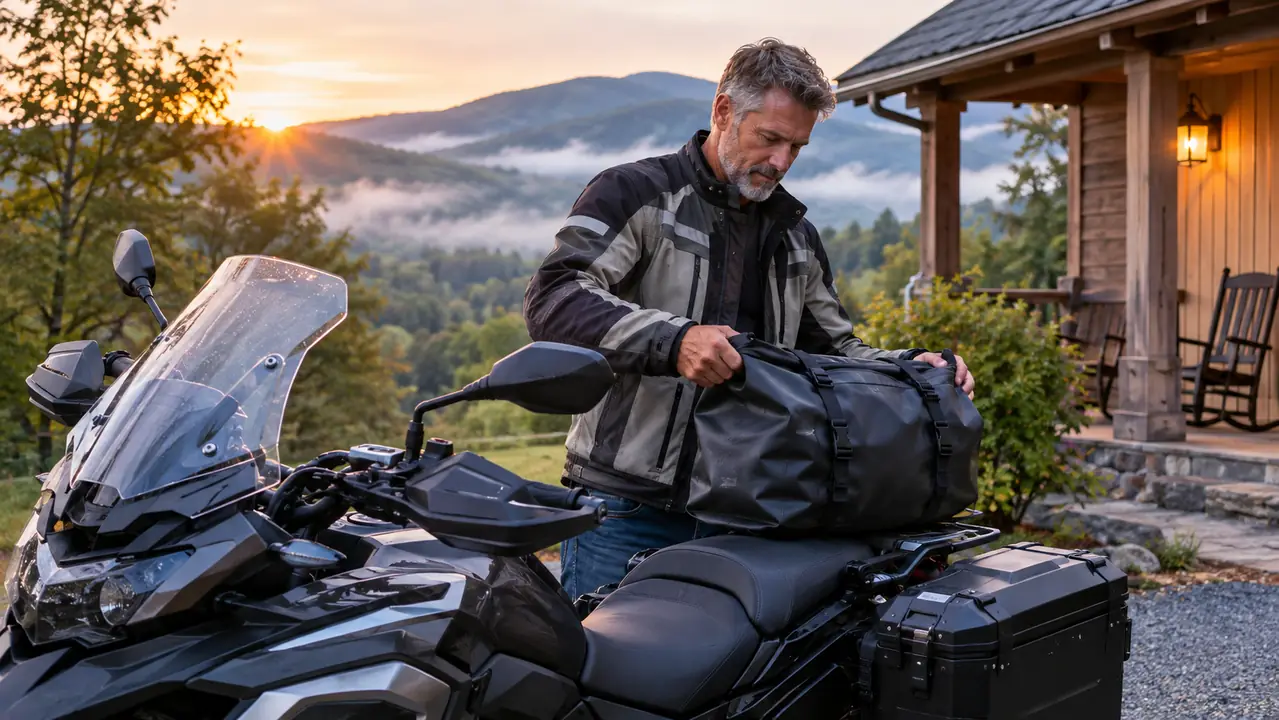
The first time I strapped a dry bag to the back of my motorcycle for a long trip, I packed it like a suitcase and cinched it down like I was mad at it. By the time I crossed the Virginia line, the load had shifted, the straps had loosened, and I pulled over twice to redo the whole thing. That was a while ago. These days I pack the same way every time, and I can do a 600-mile run to Myrtle Beach without touching the bag once between gas stops.
A 30-liter roll-top dry bag is the right size for a multi-day trip if you pack it in the right order. The trick is that the bag is a soft tube, not a hard case. It only holds its shape if you fill it smart, roll it tight, and strap it down so the load sits low and centered. Here is the method I have settled on after a couple of Myrtle Beach trips and a lot of weekend rides with my IRON JIA'S dry bag.
Start with a bag that can take the weather
I use the IRON JIA'S Motorcycle Dry Bag for every long trip now. Thirty liters, welded seams, and a roll-top closure that has kept my gear dry through more than one surprise downpour.
Amazon Check Today's Price on Amazon →Step 1: Lay everything out and split it into three piles
Before the bag gets opened, I dump everything I think I am taking onto the bed and split it into three piles. Pile one is the stuff I will not touch until I stop for the night: clothes, toiletries, the dopp kit, the book I am reading. Pile two is the stuff I want at a gas stop: rain liner, extra gloves, the little tool roll, a snack. Pile three is the stuff that cannot get wet no matter what: phone charger, wallet backup, the paper map I still carry.
This split does two things. It tells me what has to go in the bottom of the bag, what has to go on top, and what has to go in the internal pocket. It also stops me from packing three of everything. If I can see it all spread out on the bed, I can be honest about what I actually wore on the last trip instead of what I think I might wear on this one.
Last spring I skipped the piles and just threw things in as I thought of them, because I was in a hurry to get on the road before the rain moved in. I paid for it at the first gas stop past the Pennsylvania line. The bag was so overstuffed that I could not get the roll closed without fighting it, and I had to unpack half of it on the shoulder of I-79 to find the extra gloves I was sure I had packed. The sky was gray the whole way to Roanoke and I kept waiting for the next shower. That was the trip that taught me the split is not about being neat. It is about knowing that the thing you need at mile 80 cannot be at the bottom of the bag, and that a bag you have to fight to close is a bag that will not ride right. Now I do the split the night before, on the bed, with a cup of coffee going, and I take things out as often as I put them in. The last thing I do is walk away and come back in an hour, then take out the two items I am not really going to use.
Step 2: Pack the bottom with the soft, bulky stuff
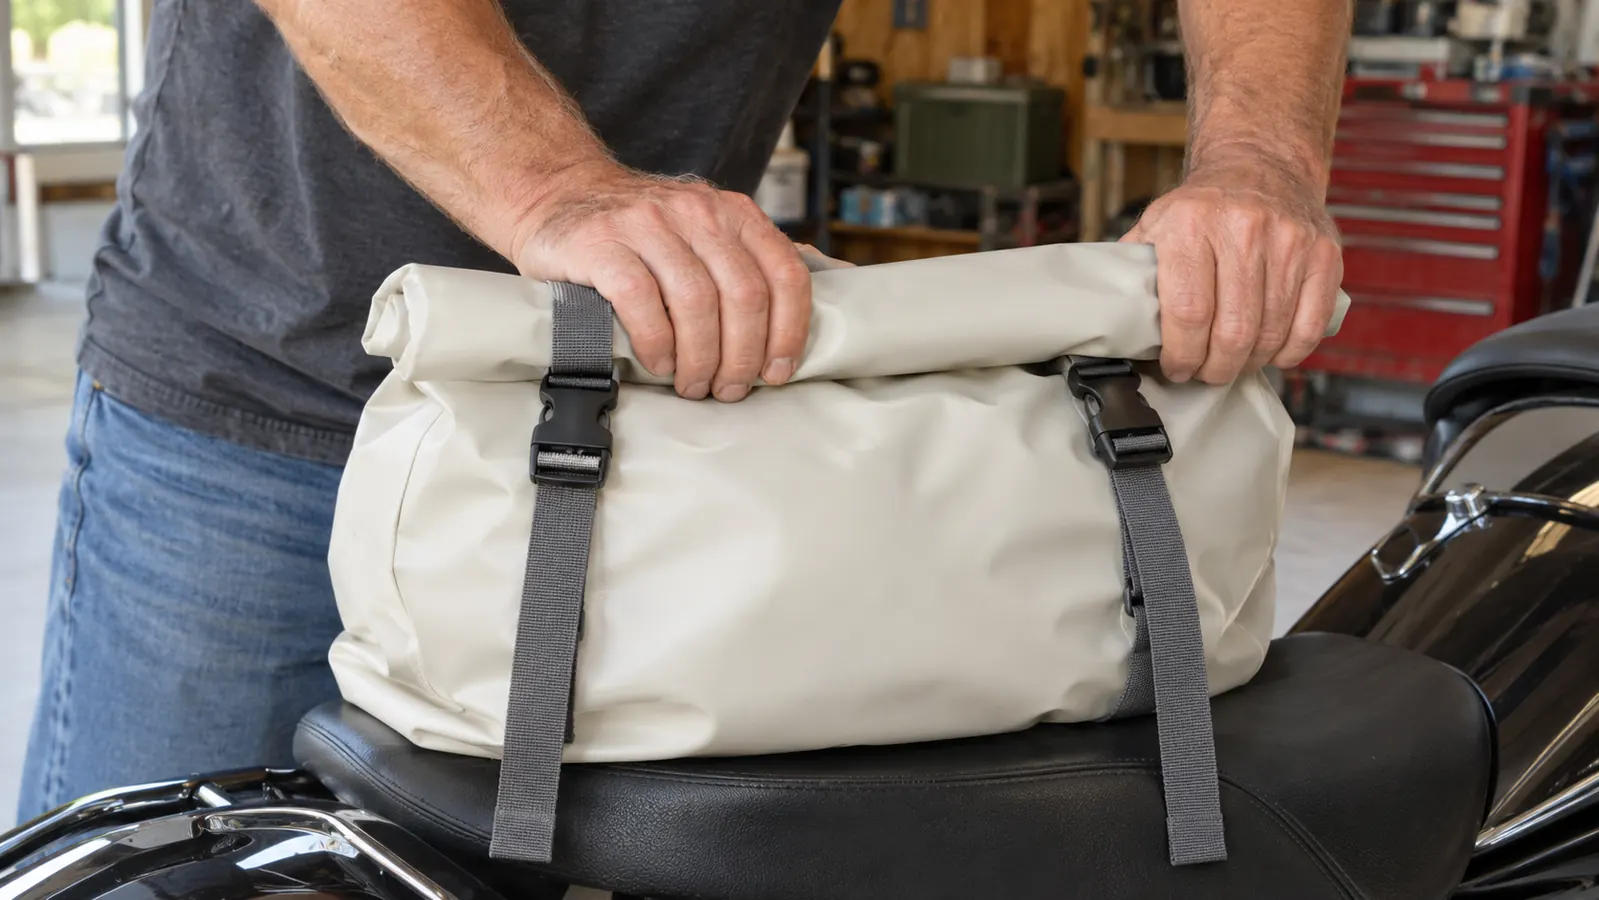
The bottom of the bag is where the weight settles, so I start with the softest, bulkiest items: the sleeping clothes, the spare pair of jeans, the hoodie. These are the items that fill out the corners of the bag and give the soft shell its shape. If I start with the hard or heavy items, they leave dead air around them and the whole bag ends up lumpy.
I also roll every item instead of folding it. Rolled clothes pack tighter, they do not crease the same way, and they fill the round bottom of a dry bag better than flat folds. I pack the rolls in like bricks, working from the outside in, so there are no empty pockets along the side of the bag.
The bag is 21.7 inches long and 11.8 inches wide at the base, which is bigger than it sounds once you start filling it. It weighs 1.18 kilograms empty, light enough that I never think about the bag itself, only what is in it. The first time I used it, I folded my jeans the way I would for a suitcase and laid them flat across the bottom. They filled the middle and left two empty crescents along the sides, and everything above them settled into those gaps. By the end of the first day the bag had gone soft in the middle and the whole load had a wobble to it. Rolling changed that. A pair of jeans rolled tight is about the size of a loaf of bread, and I can fit three of those rolls across the bottom with maybe an inch to spare. I do the same with the hoodie, the sleeping shirt, and the spare pair of pants. They lock together the way firewood does, and once they are in, the bottom of the bag is solid. It takes me about five minutes to pack the bottom layer now, and I have not had a bag go soft on me since.
Step 3: Put the heavy stuff low and centered
The heaviest items, for me that is the tool roll and a spare pair of boots, go in next, low and centered. On a motorcycle, weight that sits high or off to one side changes how the bike steers. A 30-liter bag is small enough that you can get away with a lot, but the load still needs to be balanced side to side and kept as low as the soft bag allows.
I check this by picking the bag up by the handles before I close it. If one side is clearly heavier, I pull the heavy item out and reposition it. It takes thirty seconds on the bed and it saves me from fighting the bike for the first hour on the interstate.
I learned the centered part the hard way on a Saturday run down to the New River Gorge last fall. I had packed the bag the night before, and I was in a hurry at the end, so I set the tool roll on the right side of the bag and the boots on the left, and I did not check the balance. It felt fine in the driveway. It did not feel fine at seventy. The bike wanted to drift right, and every time I let off the throttle it got worse, because the heavy side was also the high side. I pulled off at a scenic overlook outside Beckley, repacked the bag with the heavy stuff on the centerline, and the bike straightened right out. That is the difference between a bag that is full and a bag that is loaded. A full bag just has stuff in it. A loaded bag has the weight where the bike wants it. I have not had to repack a bag on the road since.
Step 4: Keep the must-stay-dry stuff in the internal pocket
The IRON JIA'S dry bag has an internal pocket sized for a device up to 15 inches in the 30-liter model. That is where the phone charger, the backup battery, and the paper map go. They are already inside a waterproof bag, so the pocket is a second layer of protection and a way to keep the small stuff from getting lost at the bottom of the bag.
I put the items I will need at the first gas stop on top of everything else, just under the roll. That way I can open the bag at a fuel station, grab the rain liner without digging, and re-roll the top in under a minute. The goal is to never have to unpack the whole bag on the side of the road.
Step 5: Roll the top down and strap it across the seat
The roll-top closure is the part of the bag that does the real work. I fold the top over three full turns, press the air out as I roll, and clip the buckles down tight. The air inside the bag is what makes a soft bag shift, so getting it out before you roll is as important as the roll itself. I press the bag flat with my knee while I roll, which pushes the air out and keeps the load compact.
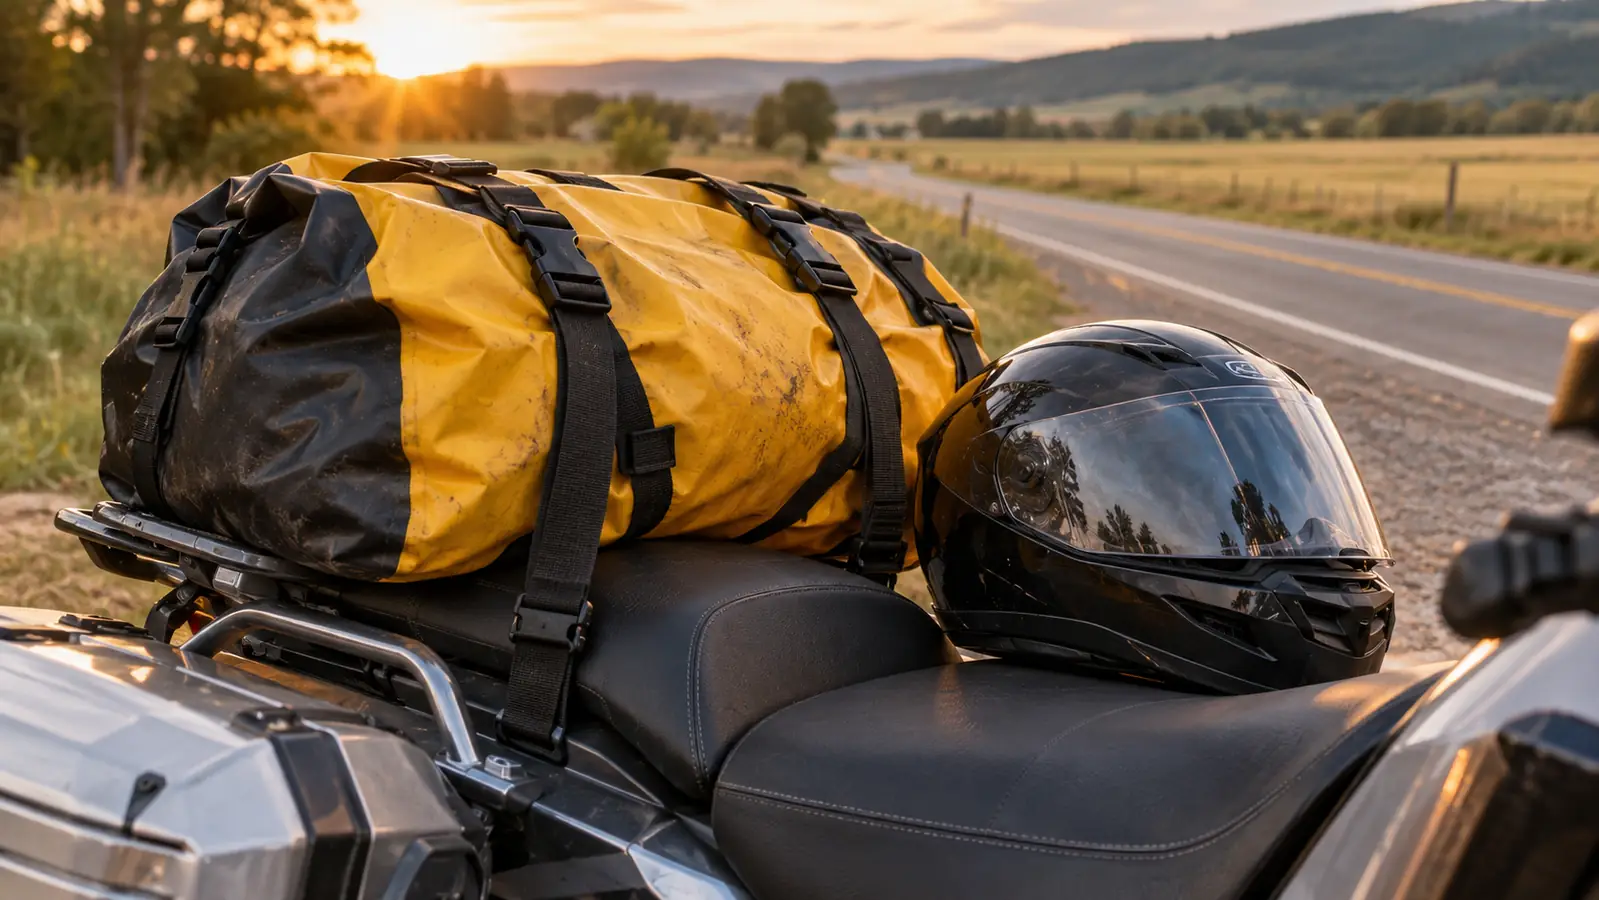
Then the bag goes on the rear seat, centered side to side, with the straps run under the seat and around the bag. The IRON JIA'S straps are adjustable and removable, so I run them the way the load needs them rather than the way the bag comes out of the box. I cinch until the bag does not move when I push on it, then I give it one more pull after the first mile. Straps settle in the first few minutes of riding, and that second pull is what keeps the bag from working loose.
The first time I strapped this bag down, I ran the straps across the middle of the bag and cinched them as tight as I could get them. That held the bag in place, but it also pinched the rolled top and pulled the whole load up off the seat. Every bump made the bag bounce, and by the time I stopped for lunch the straps had sawed their way loose. The fix was simple: run the straps under the seat and around the bag so they pull down, not across. I want the bag pressed against the seat, not just tied to it. I also learned to leave the strap ends a little long and tuck them under the bag, because loose ends flap at speed and work themselves loose over a day of riding. Now the bag goes on the seat, I push down on the top with one hand while I cinch, and I check it at the end of the driveway before I ever get on the interstate. That driveway check has caught a loose strap more than once, and it is a lot easier to fix there than on the shoulder at mile 400.
What Else Helps
A few small habits make the whole system work better. I put a soft cover or my rain jacket over the bag if I am expecting a long wet stretch, because a dry bag keeps water out but a cover keeps the straps from flapping and keeps the bag itself clean. I run the straps so they do not rub the paint or the fender. And I keep a small dry sack inside the big one for the truly important stuff, so I can grab it without opening the main roll.
I also check the straps every time I stop for gas. It takes ten seconds. The bag has never come loose on me, but the check is cheap and the alternative is a bag bouncing down the interstate behind me. On a long trip, the riders who have problems are the ones who stopped checking.
A dry bag only holds its shape if you fill it smart, roll it tight, and strap it down so the load sits low and centered.
Pack it once, ride it all day
The IRON JIA'S Motorcycle Dry Bag has been on the back of my bike for two seasons now. Thirty liters, welded seams, and a roll top that has never let water in. If you are getting ready for your own long trip, this is the bag I would start with.
Amazon Check Today's Price on Amazon →