
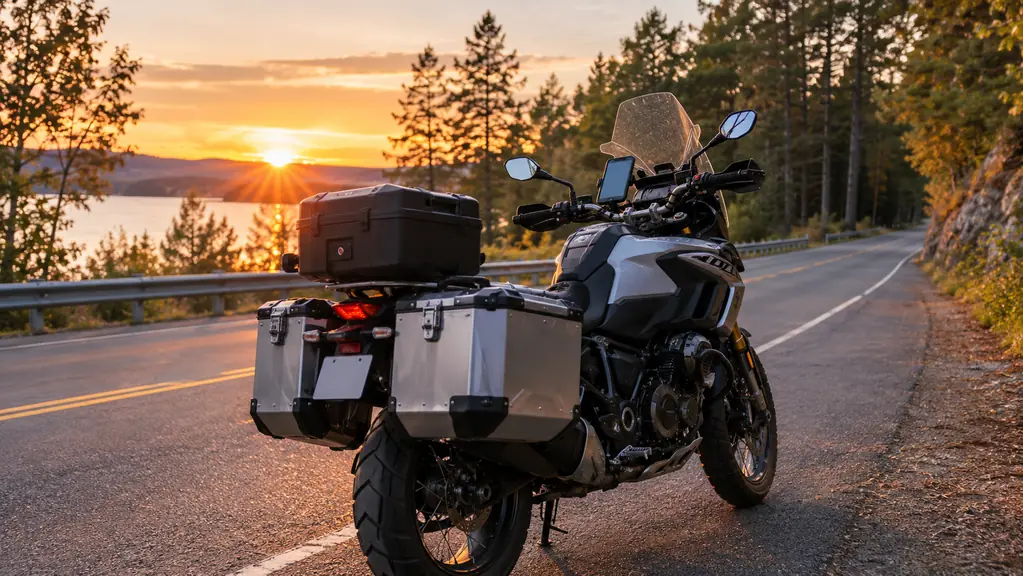
The first time I tried to follow a route on my phone, I wedged it between the clutch reservoir and the grip and told myself it would be fine. It was not fine. Every pothole bounced it sideways, I could not see the screen without taking my eyes off the road for too long, and at the first fuel stop I found it resting against the brake lever. There is a right way to do this, and it starts with a real mount.
I have ridden for about 35 years, most of them on my 2019 Indian Chieftain, and every year I ride from Pittsburgh down to Myrtle Beach, about 600 miles each way. After a couple of those trips, I stopped guessing and bought a RAM MOUNTS X-Grip with the U-bolt base and medium arm. This guide is the process I use, in the order I use it, so you do not have to learn it at mile 400 in the rain.
Start with the mount that has held my phone for two seasons of touring
The RAM MOUNTS X-Grip with U-bolt base and medium arm is the setup I keep coming back to. It holds the phone without hiding it, and the spring-loaded X design with rubber caps has never once let my phone go.
Amazon Check Today's Price on Amazon →Step 1: Pick the spot on the bars before you touch a single bolt
Where the mount goes matters more than which mount you buy. You want the phone high enough to glance at without dropping your chin, and close enough to your normal line of sight that you are not taking your eyes off the road for more than a second. On my Chieftain, that spot is on the left side of the handlebar, just inboard of the grip, where the bar is straight and gives the U-bolt a clean section of rail to grab.
Walk the bike and look at it from the riding position before you commit. Sit on the seat, put your hands on the grips, and imagine following a route. If you have to hunch forward or tilt your head down to read the screen, the mount is in the wrong place. The U-bolt base that comes with this kit fits rails from half an inch to 1.25 inches in diameter, so you have some room to slide it along the bar until the angle feels right.
One thing I learned the hard way: keep the mount clear of the controls. The first spot I tried was on the right side, inboard of the throttle, because I figured my right hand would do the reaching. It did not work. Every time I rolled the throttle on, my wrist brushed the phone, and by the end of a long day the constant bumping had worked the phone crooked in the X-Grip. I moved the whole setup to the left side the next morning and have never gone back. You do not want the arm reaching over the clutch or the brake lever either, and you do not want the phone blocking your view of the instruments. A phone is a navigation aid, not a replacement for the speedometer.
Step 2: Install the U-bolt base so it cannot move
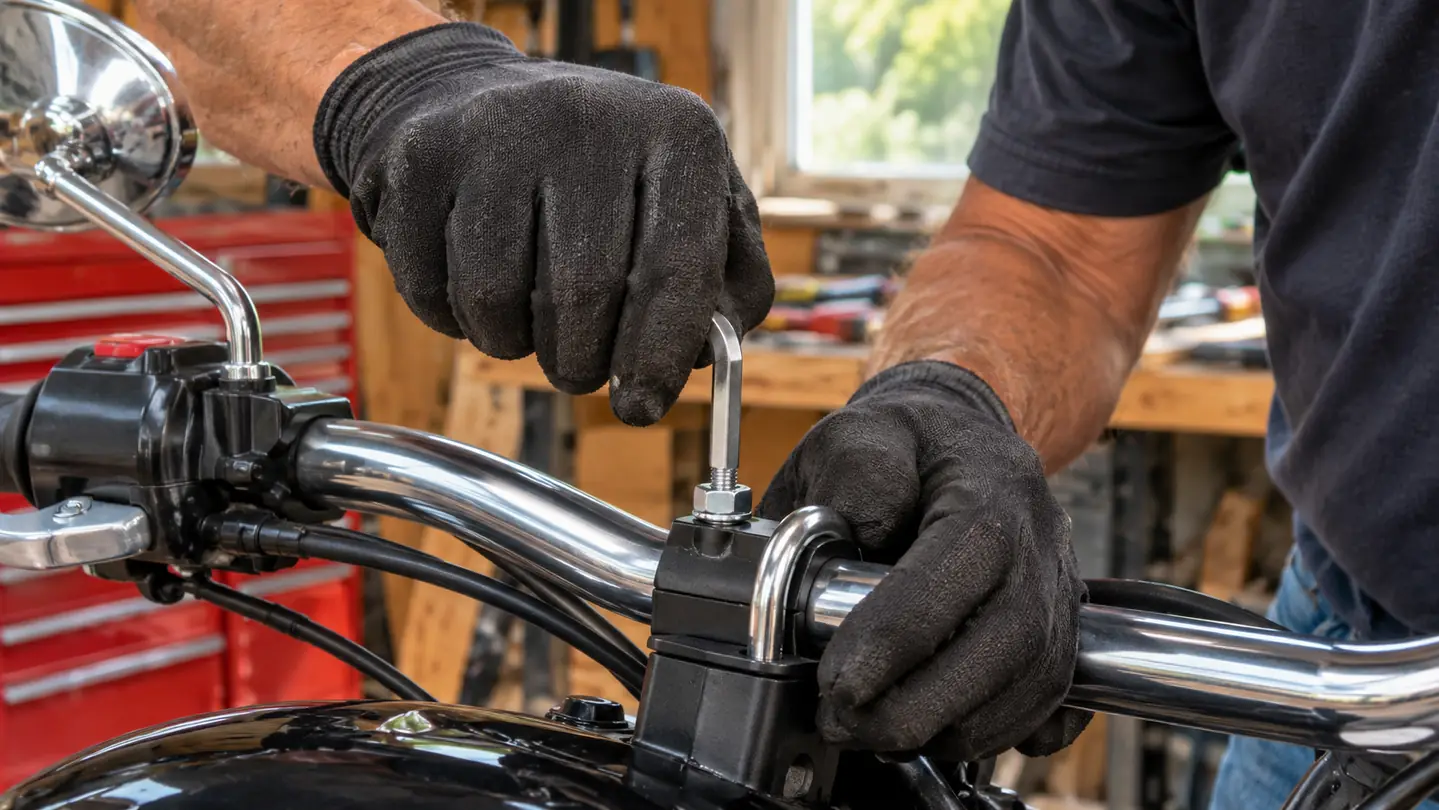
The U-bolt base is the part that actually carries the load, so this is where you take your time. The kit includes a quarter-inch 20 U-bolt sized for rails from half an inch to 1.25 inches in diameter. On my bike, the bar is right in that range, and the U-bolt wraps around it cleanly with the plate on top.
Fit the U-bolt around the bar, slip the plate over the threaded ends, and snug the nuts down evenly, a little on one side, then a little on the other, until the base does not rotate when you push on it. You are not building a bridge, but you do not want the base shifting under vibration. If your bike has a rail up to 1.25 inches in diameter, the same base works there too.
Check it again after your first ride. Bolts settle, and a base that felt tight in the garage can loosen after an hour of engine vibration. I learned this on the first trip down to Myrtle Beach. I had snugged the base on a Sunday morning in the garage, thought it was done, and rode the first leg to Virginia without a second thought. At the fuel stop outside Roanoke I gave the base a routine push and it moved maybe a quarter of a turn, just enough to notice. I carry a small hex key on the bike, so I snugged it in two minutes and checked it again at the next stop. It has not moved since. Now I give the base a quick check at fuel stops on the first day of every trip.
Step 3: Attach the medium arm and set the angle
The medium arm in this kit is the B size RAM double socket arm, about 3 inches long between the balls. It gives you just enough reach to position the phone where you want it without turning the whole setup into a flagpole. The ball-and-socket joints are what make the RAM system adjustable, and they are also what let you fine-tune the angle after everything is tight.
Thread the arm onto the base, then attach the X-Grip head to the other end. Tighten the sockets just enough that the arm holds its position but you can still move it by hand. A shorter arm would not give you the reach to put the phone where you want it, and a longer one would push it out where the wind grabs it. At 3 inches the phone sits close to the bar, stable and easy to see. You want to be able to adjust the angle at a gas station without digging out a tool, but you do not want the phone drooping toward the tank at speed.
Set the phone in the X-Grip now, before you ride, and check the angle from the saddle. The screen should face you squarely, not tilted up at the sky or down at the fender. I spent most of the first day of one trip with the screen tilted a couple of degrees too far up. It looked fine in the garage, but once the sun got low behind me the glare made the route unreadable, and I found myself slowing down at every junction to make out the next turn. I pulled into a gas station in Virginia, loosened the socket, tilted the head down, and tightened it again. That one adjustment took about four minutes, and I have not touched the angle since. This is the step that separates a mount that works from a mount you fight with all day.
Step 4: Seat the phone in the X-Grip and use the tether
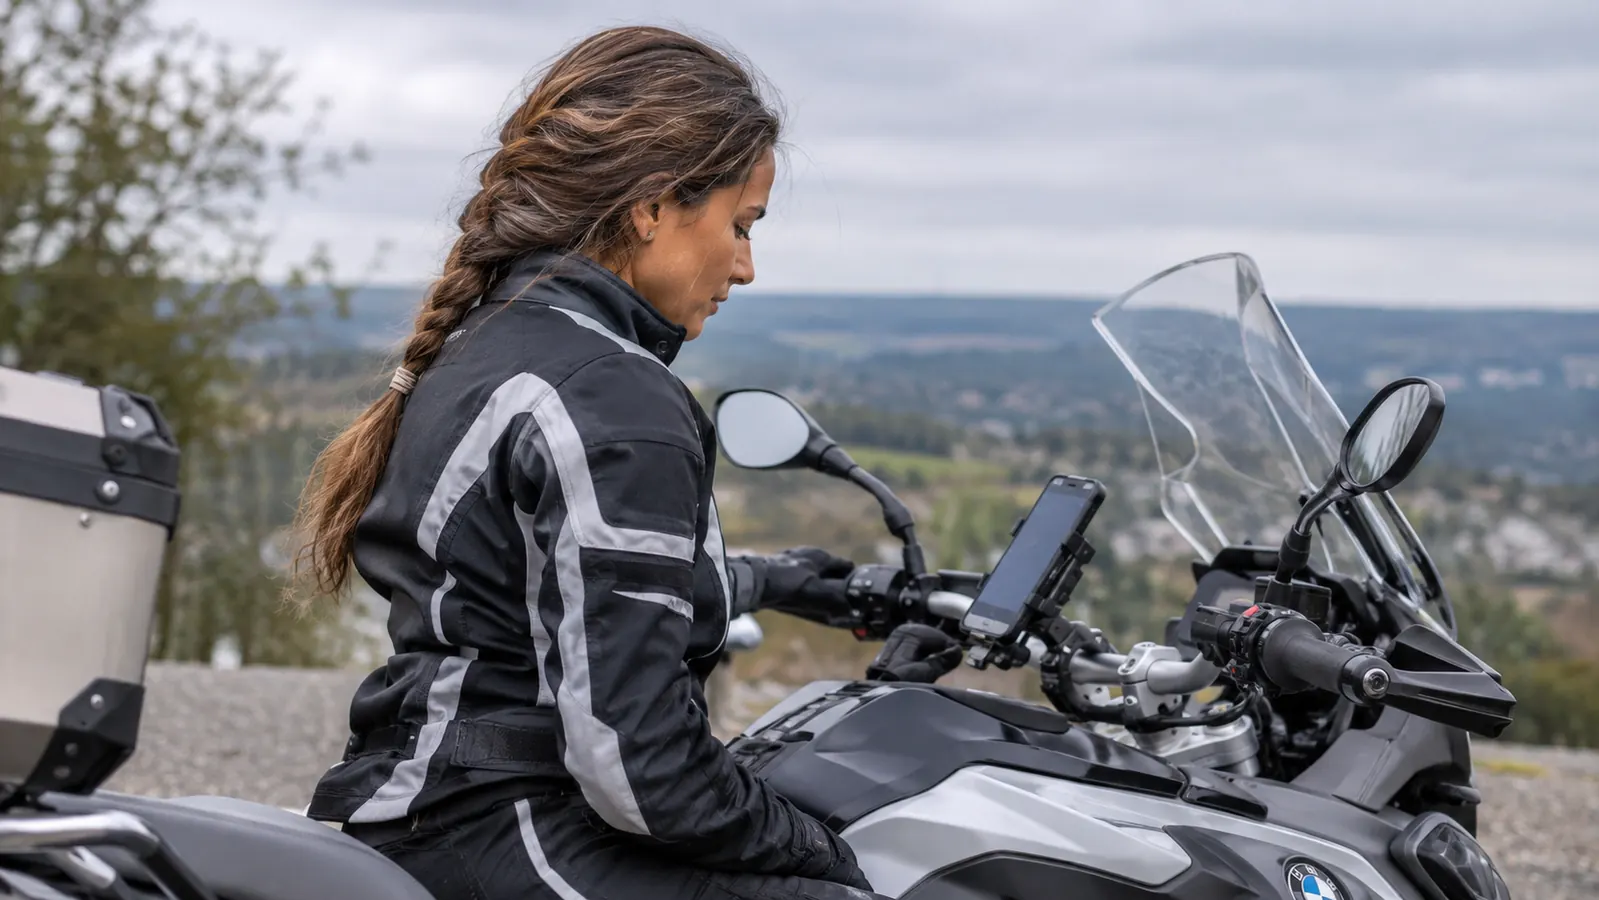
The RAM MOUNTS X-Grip is a spring-loaded X design with rubber caps on the ends of the arms. It holds the phone by the corners, which means the screen stays fully visible, and the rubber caps grip without scratching. The holder accepts phones with a width range of 1.875 to 3.25 inches and a depth of up to .875 inches, which covers most modern smartphones including the iPhone Pro series and most Android flagships. RAM rates the holder for phones up to 2 pounds, which is well beyond anything you will strap to the bars. My phone in a slim case weighs a fraction of that, and it sits in the X with the arms holding all four corners evenly.
To seat the phone, pull the top arms back, set the bottom corners into the bottom caps, and let the top arms snap over the top corners. You want the phone centered in the X, not sitting high or low. If it sits crooked, the arms will not hold it evenly and it can work loose over a long day.
Use the tether. The kit includes an optional device tether, and I know a lot of guys skip it because it looks like a hassle. It is a five-second strap that catches the phone if the mount ever fails. The tether wraps around the back of the phone and clips to the mount, so even if the X-Grip let go, the phone would hang there instead of bouncing down the highway. The kit also includes a small glue tube for the rubber caps. I did not think I would need it until a cap worked loose one afternoon, not because the mount failed but because the cap itself had slipped on the arm end. I cleaned the end, put a small dab of glue on, and pressed the cap back on. It has been there ever since. I have had the X-Grip hold through a couple of Myrtle Beach trips and a lot of weekend rides without a single slip, and I still use the tether every time. It is cheap insurance at 70 mph.
Step 5: Set up the phone for riding before you pull away
A phone is only useful for navigation if you can read it at a glance. Before I ride, I set the screen to a route view with big text, lock the screen orientation, and turn off notifications. I also set the phone to stay awake, because the last thing you want at a junction is a black screen that needs a thumb to wake up.
If you ride in the rain, put the phone in a waterproof case before you seat it in the X-Grip. The mount itself is built to handle the weather, and the X-Grip holds a cased phone exactly the same way it holds a bare one. On a wet day, the rubber caps still grip, and the tether still does its job. I rode through a steady rain in West Virginia one spring, three hours of it, and the phone never moved. The screen was hard to read through the water, but the mount was not the problem and neither was the tether. When I pulled off, the phone was exactly where I had put it.
Finally, make a habit of checking the phone at every stop. A quick glance at the X-Grip, a quick tug on the tether, and you are good for another hundred miles. It takes ten seconds, and it is the reason I have never lost a phone on the road. I do it the same way I check my mirrors before a lane change, without thinking about it. On the second day of a trip, when you are tired and the miles are piling up, that habit is what keeps the small stuff from becoming a problem.
What Else Helps
A good mount is the foundation, but a few small habits make the whole setup better. I keep a spare pair of rubber caps in the garage, because the caps are the part that actually touches the phone and they wear over time. I also keep the ball-and-socket joints clean and snug; a little dirt in the joint makes the arm harder to adjust, and a loose joint lets the phone vibrate.
For long trips, I plan my route in chunks instead of following one endless line. I set the next fuel stop, ride to it, and reset. That keeps the screen simple and keeps my eyes where they belong. On the way to Myrtle Beach, that usually means a stop around Wytheville and another around the North Carolina line. If you ride with a group, agree on the route before you leave so nobody is staring at a phone at a fork in the road.
And if you wear heavy gloves, test the phone screen with them on before you buy a mount. Some screens do not register a gloved finger well, and there is nothing more frustrating than a navigation app you cannot tap at a stop sign. The X-Grip holds the phone either way, but the whole point is to make the phone easier to use, not harder.
I have had the X-Grip hold through a couple of Myrtle Beach trips and a lot of weekend rides without a single slip, and I still use the tether every time.
Mount your phone once and stop wrestling with it at every fuel stop
The RAM MOUNTS X-Grip with U-bolt base and medium arm is the setup that has carried my navigation for two seasons of riding. It holds the phone by the corners, keeps the screen fully visible, and comes backed by a lifetime warranty.
Amazon Check Today's Price on Amazon →